Deploying vRealize Automation 6.2 Appliance Cluster with Postgres Replication
- Deploying fully distributed vRealize Automation instance – Configuring NetScaler Monitors
- Deploying fully distributed vRealize Automation IaaS components – Part 2: Database, Web and Manager services
- Deploying fully distributed vRealize Automation IaaS components – Part 1: Pre-requisites
- Deploying vRealize Automation 6.2 Appliance Cluster with Postgres Replication
- vSphere 6 HA SSO (PSC) with NetScaler VPX Load Balancer for vRealize Automation
- vCAC 6.0/6.1 build out to distributed model: Deploy the Identity Appliance
The recommendations for the vRealize Appliance have changed with 6.2, the published reference architecture now does not recommend using an external Postgres database (either vPostgres appliance, a 3rd party Postgres deployment or using a third vRealize Appliance as a stand-alone database installation). Instead the recommended layout is shown in the diagram below. One instance of postgres on the primary node becomes an active instance, replicating to the second node which is passive. In front of these a load balancer or DNS entry points to the active node only. Fail-over is still a manual task, but it does provide better protection than a single instance.
The cafe portal and APIs are still load balanced in an active/active configuration and are clustered together.

Prerequisites
The following pre-requisites should be configured before deploying
Single Sign On
As I discussed in my previous post, there are now three options for single sign on in vRealize Automation 6.2, the trusty old Identity Appliance, whose availability is based solely on vSphere HA. There is also vSphere 5.5 SSO and vSphere 6 Platform Services Controllers, which can both be clustered behind a load balancer to provide high availability.
For this deployment, I am using the HA vSphere 6 Platform Services Controller I created in my previous article.
IP Addressing and DNS Records
Four IP addresses and DNS records are required - one for each node, and one for each load balanced service. My DNS records are configured as below:

Load Balancing
Load balancing vRealize Appliance web (HTTPS) and postgres traffic is a very simple affair and doesn’t require a lot of advanced configuration - most load balancers will be fine. As I’ve already deployed the NetScaler VPX Express for the HA PSC setup, I will continue using that.
Typically I prefer to use NSX Edge Gateways, however these are not supported for the PSC configuration.
vRealize Appliance SSL Certificate
A certificate must be generated with with both appliance short names, FQDNs and IP addresses, as well as the short name, FQDN and IP address of the load balanced URL.
Create an openSSL cfg file (mine is saved as Z:\Certificates\vra-app\vra-app.cfg):

Use the following as an example:
Create a private key and certificate signing request using OpenSSL:

This creates a private key and csr file:

Submit your request to your Certificate Authority using an advanced certificate request, copy the contents of the rui.csr file and paste it into the request form, selecting your VMware template.

Download the base 64 encoded certificate and save it in the same folder as the key. Also download any root and subordinate CA certificates in the chain in base 64 format.
Configure the NetScaler Load Balancer
Log onto the NetScaler admin console and go to Configuration, Traffic Management, Load Balancing, Servers and click Add to enter the first vRA Appliance node’s IP. Repeat for the second node.


Go to Configuration, Traffic Management, Load Balancing, Services and click Add to configure a service on TCP port 5432, and SSL port 443 on each appliance node (they will show as down for now - that’s fine)


Go to Configuration, Traffic Management, Load Balancing, Virtual Servers and click Add to configure a virtual server for port 5432 on the load balanced IP for postrgres (configured earlier with the vra-db.definit.local DNS entry). Also create a virtual server on SSL port 443 on the load balanced IP


For the SSL/443 virtual server, click “No Load Balancing Virtual Server Service Binding” and add the two relating services, with the default weight of 1.

Click on “No Server Certificate” and add the SSL certificate (vra-app.cer) and private key (rui-orig.key) generated earlier, then click on “No CA Certificate” and add the CA certificates for the Appliances

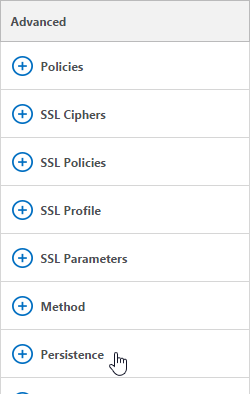
On the right hand side, click on the “Advanced” option to add “Persistence” and then configure for SOURCEIP with a timeout of 30 minutes.

For the TCP/5432 server, only add the first node (failover is manual). No certificates are required, and no persistence.

Deploy the two vRealize Appliance nodes
Deploy two appliances using the OVF deploy wizard, ensure you enable SSH on each node. I’ve configured my nodes as below.
<td valign="top" width="200">
  <strong>Node 1 Value</strong>
</td>

<td valign="top" width="200">
  <strong>Node 2 Value</strong>
</td>
<td valign="top" width="200">
  vra-app-1
</td>

<td valign="top" width="200">
  vra-app-2
</td>
<td valign="top" width="200">
  192.168.50.61
</td>

<td valign="top" width="200">
  192.168.50.62
</td>
<td valign="top" width="200">
  255.255.255.0
</td>

<td valign="top" width="200">
  255.255.255.0
</td>
<td valign="top" width="200">
  192.168.50.1
</td>

<td valign="top" width="200">
  192.168.50.1
</td>
<td valign="top" width="200">
  vra-app-1.definit.local
</td>

<td valign="top" width="200">
  vra-app-2.definit.local
</td>


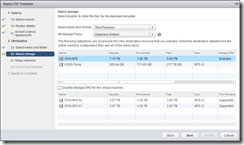


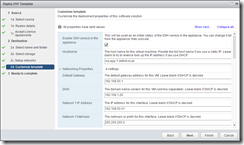
Finish the wizard but do not power on the appliance after completion.
Configure vRealize Appliance nodes
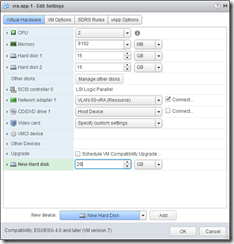
Edit both vRealize Appliance virtual machines using the vSphere Web Client, and add a 20GB disk to each before powering them on:
Download the scripts attached to KB2108923 and copy them to the /tmp folder on the first appliance using WinSCP or similar.
SSH to the first appliance node using PuTTY and move to the /tmp folder. Unzip the file:
This unzips a .tar file in the /tmp directory. Extract that using the tar commad:
There are now two scripts in the /tmp directory, configureDisk.sh and pgClusterSetup.sh

Use the command “parted -l” to identify the unformatted disk - on a brand new vRA 6.2 appliance it should be /dev/sdd.
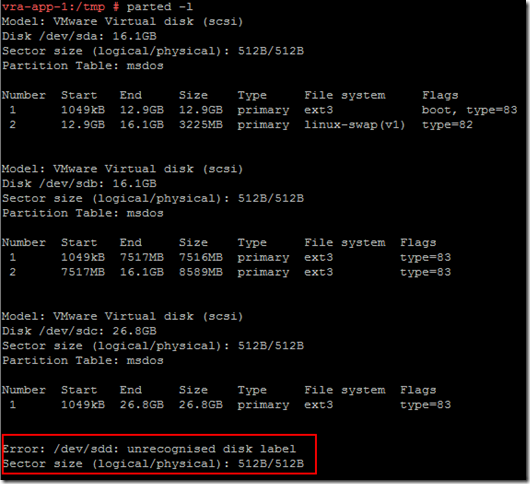
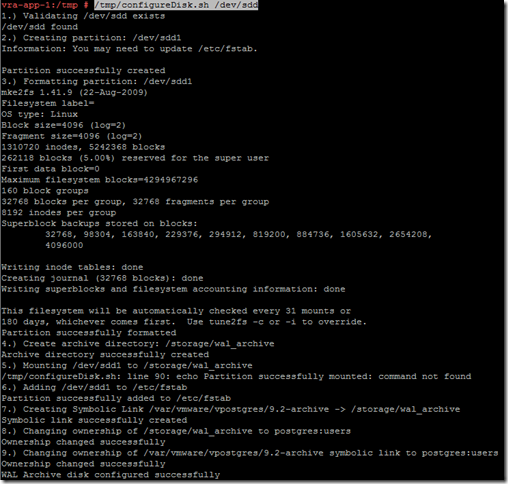
Now configure the disk using the script extracted before:
Now prepare the postgres instance for clustering using the second extracted script:
pgClusterSetup.sh [-d] <db_fqdn> [-w] <db_pass> [-r] <replication_password> [-p] <postgres_password>
To use the same password for all three, just omit the -r and -p options - not a good idea for production, but OK to use in lab/testing.

Repeat this process (add a disk, extract and run configureDisk.sh, then pgClusterSetup.sh) on the second appliance.
Now SSH to the second appliance and configure the second node to run as a replica of the first using the “run_as_replica” script.
./run_as_replica –h -b -W -U replicate
[-U] The user who will perform replication. For the purpose of this KB this user is replicate
[-W] Prompt for the password of the user performing replication
[-b] Take a base backup from the master. This option destroys the current contents of the data directory
[-h] Hostname of the master database server. Port 5432 is assumed
Switch to the context of the “postgres” user

Validate the replication on the nodes using the following:
Primary:

Secondary:

KB2108923 also has procedures for testing failover, which I strongly suggest doing before deploying in production.
Configure the primary vRealize Appliance node
Open the vRealize Appliance administrative interface (
Configure NTP settings
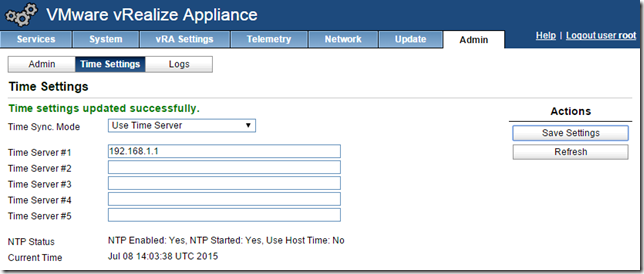
Select the admin tab, then Time Settings, then select “Use Time Server” and specify the time servers. For a lab environment just using one is OK, but for production it’s recommended to use 3-5. Click Save Settings to apply.
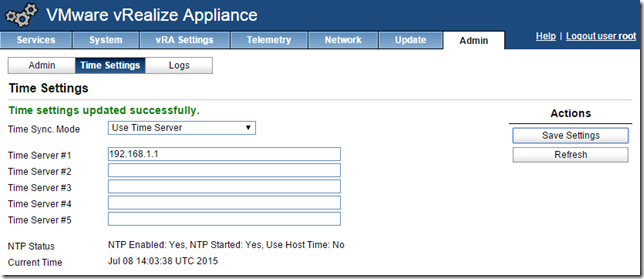
Verify Database Settings
The database settings should have been updated to use the load balanced URL configured earlier, click on the vRA Settings tab, then Database to check:
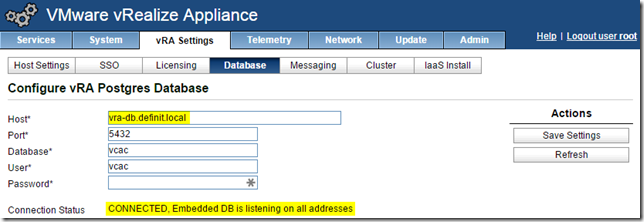
Install SSL Certificates
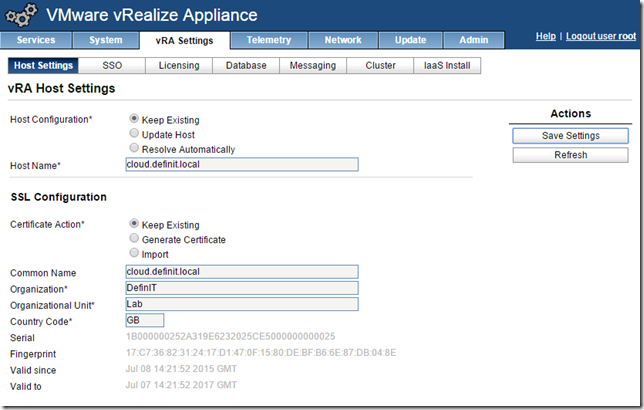
Return to the administrative interface on the first vRealize Appliance node, select vRA Settings and then Host Settings. Select “Update Host” and enter the load balancer FQDN under “Host Name”.
Select “Import” under SSL Configuration and paste the contents of “rui-orig.key” in the RSA Private Key field. Open the downloaded certificate in notepad and paste the contents into the “Certificate Chain” field. Immediately underneath, paste the next certificate in the chain. If you have an intermediate CA, paste that first, then the root CA.
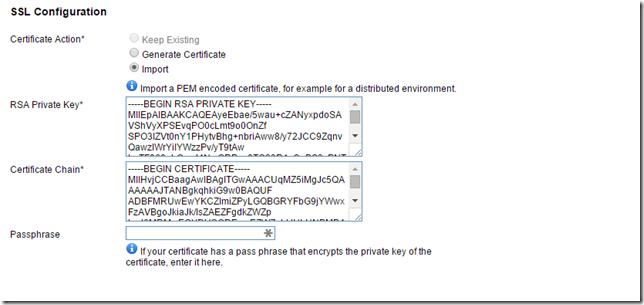
Click Save Settings to submit - both the host name and the SSL configuration should be updated with the FQDN of the load balancer.
Configure Single Sign On
Note: I am using the HA Platform Services Controller I created in my previous article.
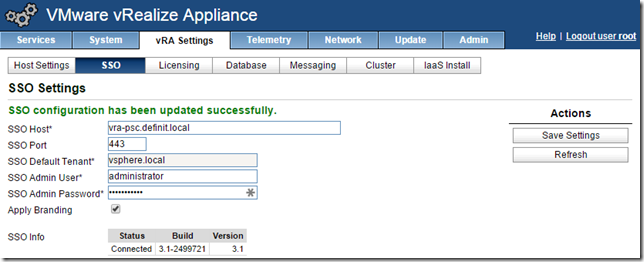
Click on vRA Settings and then SSO and configure the FQDN of the load balancer URL for the HA PSC server. Change the SSO Port to 443 (7444 is correct vSphere 5.5 or Identity Appliance). Enter the SSO admin password. If you check the “Apply branding” box it will change the SSO sign on from “VMware vCenter Single Sign-On” to vRealize Automation Single Sign-On, so if it’s a shared SSO platform you need to think about the implications for the users - they may get confused!

Click Save Settings, and then (after quite a few minutes) SSO will be initialized.
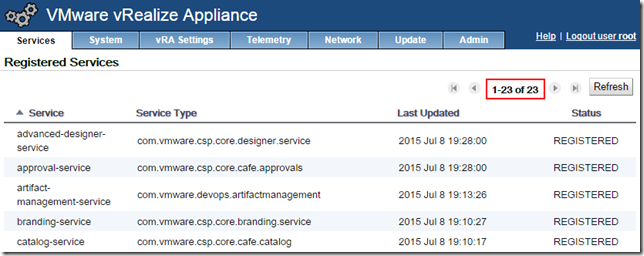
Click on “Services” tab and wait until all 23 services are initialized - you can monitor progress by SSHing to the first appliance and running “tail -f /var/log/vcac/catalina.out” to view progress. This can take 15-30 minutes - be patient!
Add the second vRealize Appliance to the cluster
Open the vRealize Appliance administrative interface on the second node (
Configure NTP settings
Select the admin tab, then Time Settings, then select “Use Time Server” and specify the time servers. For a lab environment just using one is OK, but for production it’s recommended to use 3-5. Click Save Settings to apply.
Configure Cluster
Select the vRA Settings tab, Cluster and enter the name of the first node and the root password.

Click “Join Cluster” and accept the certificate.
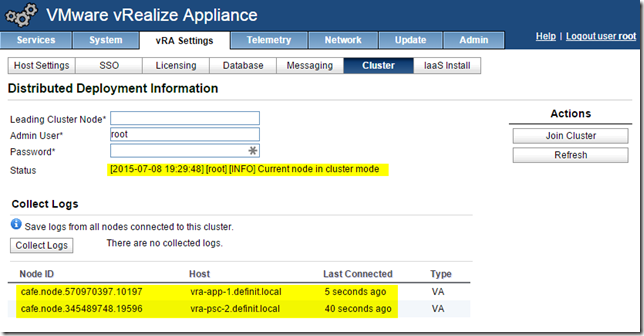
It takes a few minutes, as with the first node, for all the services to initialize and get registered - however, no additional configuration is required on the second node, the add to cluster process configures everything required.


 Written by