vCAC 6.0 build-out to distributed model – Part 2: vPostgres
- vCAC 6.0 build-out to distributed model – Part 4: Deploying and clustering a secondary vCAC Appliance
- vCAC 6.0 build-out to distributed model – Part 3.2: Configure load balancing with NSX
- vCAC 6.0 build-out to distributed model – Part 3.1: Configure Load Balancing with vCNS
- vCAC 6.0 build-out to distributed model – Part 2: vPostgres
- VCAC 6.0 build-out to distributed model – Part 1: Certificates
This is the second article in a series about how to build-out a simple vCAC 6 installation to a distributed model.
The diagram below shows the deployment at the end of this part, with vPostgres deployed and the vCAC Appliance running from the remote database.
An overview of the steps required are below:
- Issue and install certificates
- Deploy an external vPostgres appliance and migrate the vCAC database
- Configure load balancing
- Deploy a second vCAC appliance and configure clustering
- Install and configure additional IaaS server
- Deploy vCenter Orchestrator Appliance cluster
Create the required DNS records
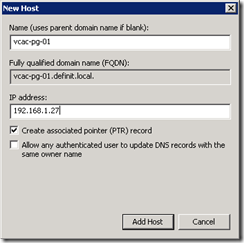
First of all, create DNS records for your vPostgres database server – you need both an A and PTR record. Most VMware appliances will check for a reverse DNS lookup when they boot and will set the hostname accordingly.
I’m calling mine vcac-pg-01:
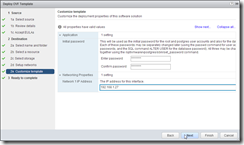
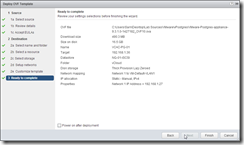
Deploy the vPostgres OVF
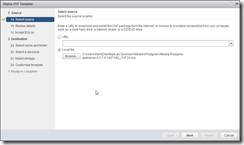
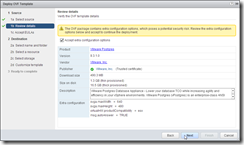
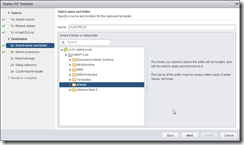
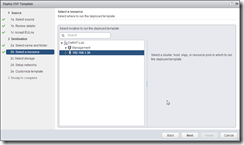
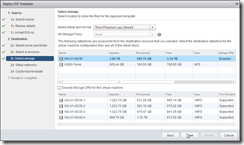
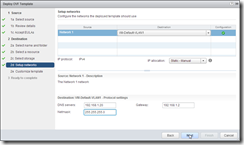
Deploying the OVF is really very simple and really doesn’t take any explaining! vPostgres is free for non-production use so there’s no problem having a play in your lab.
Initial Configuration
Once the appliance has finished booting (wait for the below screen) log onto the web management console using the DNS FQDN on port 5480 – e.g. mine is on
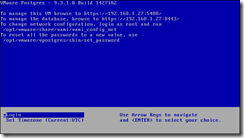
Log on using the password you specified in the OVF deployment and check that the appliance has picked up the hostname correctly. There’s no need to change anything else here (though, if you’re reading VMware, an NTP section the same as the rest of your appliances would be nice!)
Open the VM console on the DB server and edit the NTP configuration using “vi /etc/ntp.conf” and insert the same NTP servers you’ve configured for your VCAC appliance – e.g.
Save and exit the vi editor, then start the NTP server using “rcntp start” (use reload if NTP is already running). Check the sync using “rcntp ntptimeset”, and “rcntp status”.


Configure vPostgres for VCAC
Log onto the vPostgres instance using

Once logged on, expand the Databases node and select the postgres database. In the top right, you can now click on the “Enter SQL” button:

First, we need to create a user for use with vcac:

Then create a database with the new user as the owner:
Don’t worry if it doesn’t show up immediately, or with a refresh, I had to log out and log back in again.
Finally, select the vcacdb database, open the SQL window and create the extensions required for VCAC:

Migrate the vCAC Appliance Database
Open PuTTY and connect to the vCAC Appliance – log in using the root credentials.
Change to the user “vcac” which has permissions to the embedded PostgreSQL databse.
Move to the PostgreSQL install folder
Dump the database “vcac” and pipe it into a PSQL command to push it to the remote vPostgres server’s database – the –h parameter is the remote host and the final argument is the new DB name created earlier.
Enter the password for the user “vcac” on the new server (the password from the query in the previous section). There will be a whole load of SQL commands on screen, including some warnings about “public” at the end – you can safely ignore those.
Configure the vCAC Appliance to point to the vPostgres instance
The database is now migrated, but vCAC needs to know where to look, so log into the management console (e.g.

Tidy up behind you
Since the embedded database is no longer required, we should now turn that off – as well as the embedded vCO services, which cannot be configured to run on an external database. Jump back on the SSH session to the vCAC Appliance and issue the following commands

Just for peace of mind, I like to log in to my appliance at this point to ensure everything is as expected, and any configurations are carried across

That concludes part two of this series, stay tuned for part 3 which is all about the load balancing!

 Written by